Showing posts with label bakes. Show all posts

June 17, 2014

Chicken Pot Pies

Make 8 ladies portions


It's a stew, it's a soup, it's a pie … it's pot pies!
My kids love the potatoes, rich creamy soup and the flaky pastry.
Make this comforting & delectable chicken pot pies from scratch.

I have made this with or without white wine.
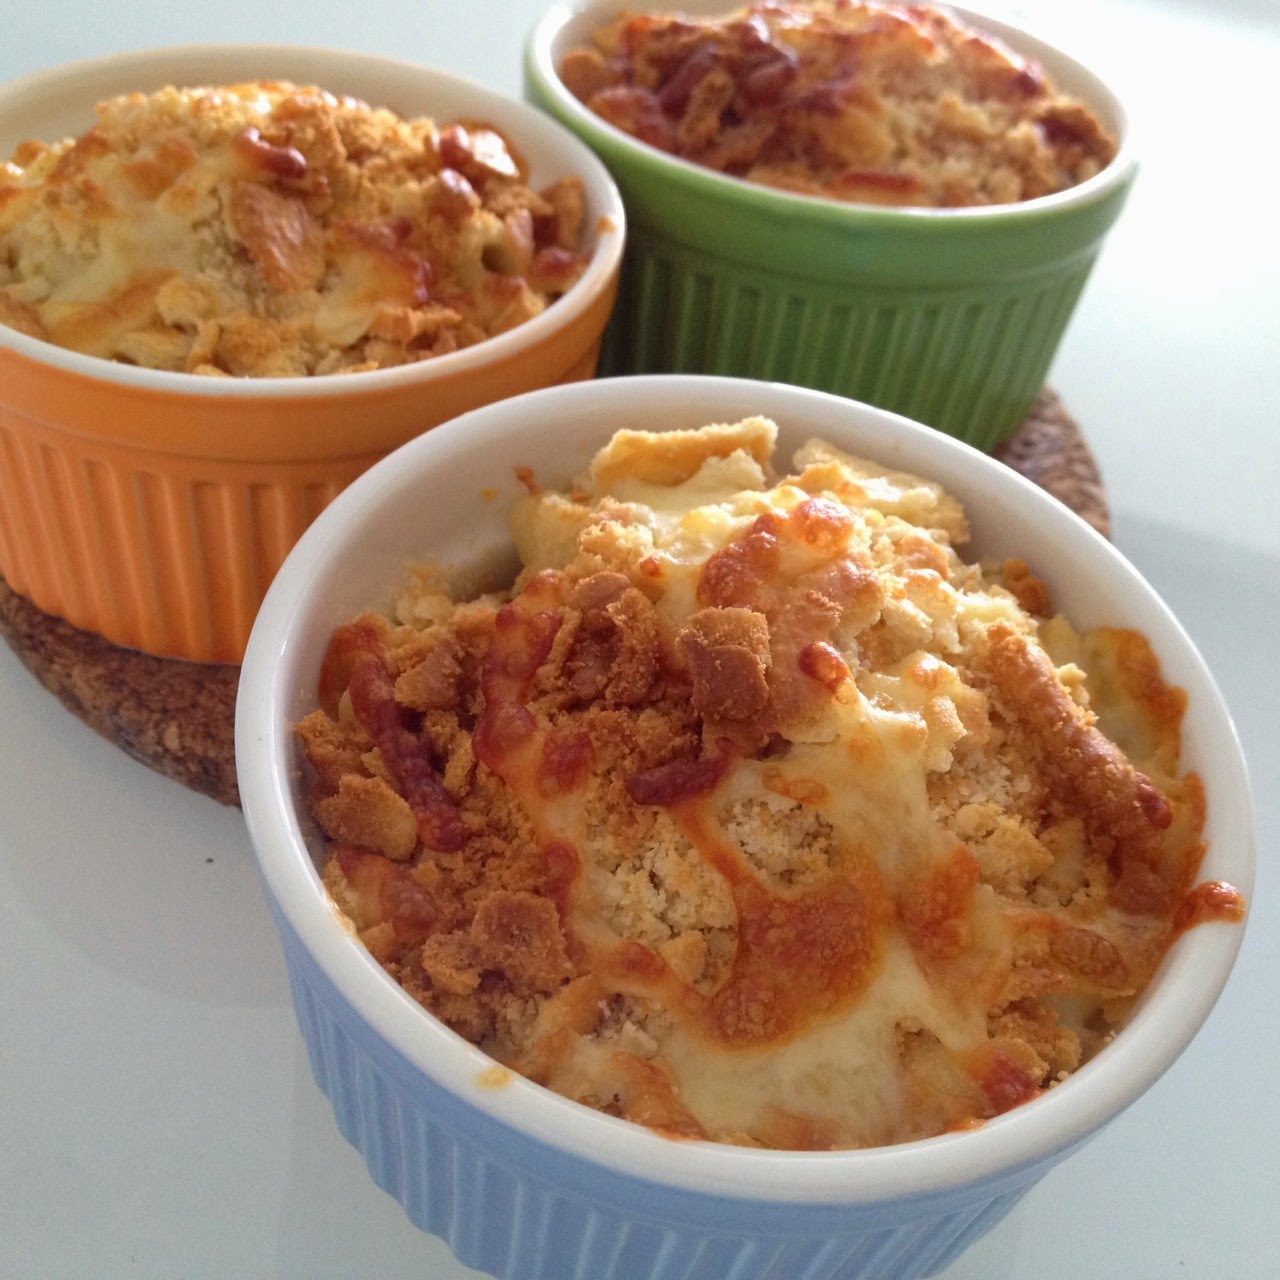
Sometimes, I add parmesan or gruyere cheese.
It's your preference. Happy cooking!


INGREDIENTS

3 pieces of boneless chicken legs
Remove skin, cut into small bite size and marinate with 3 tbsp cornflour, 1 tsp dried italian herbs, 1 tsp salt and some freshly grounded black pepper.

3 potatoes, cut into chunks
5 slices of streaky bacon, diced
8 cloves of garlic, chopped
1 yelllow onion, diced
1 punnet of fresh button mushrooms, sliced
3 stalks of celery, diced
1 carrot, diced
50gm unsalted butter
200ml cooking cream
2 cups of water
1/4 cup of white wine (optional)
1 egg, beaten (for brushing pastry)
Readymade puff pastry


METHOD

Fry bacon until browned. Set aside.

Add more oil and fry onion until it turned transparent.

Add garlic and fry till fragrant.

Melt 50gm of unsalted butter.

Add mushrooms.

Fry mushrooms until softened.

Add chicken meat. 

Fry until chicken meat turned brown on its sides.

Add carrot, celery, potato and bacon.

Mix well.

Add 2 cups of water and 1/4 cup of white wine.
Simmer until fork can poke through the potatoes but not completely softened and mashed.

Add cooking cream.

Season with more salt and pepper if necessary. Stir well.
If you want to replace carrots and celery with mixed vegetables, you should add them at this stage so that they won't be overcooked.

Portion the chicken stew into 8 ramekins.


Wrapped the puff pastry tightly around the ramekins. Brush the top with beaten egg. Poke a few holes on top. Bake at 200 degrees for 15 to 20 mins until puff pastry turned golden brown.

Leave it for 15 mins before consuming. The chicken stew is extremely hot & takes awhile to cool down.


Enjoy!


March 25, 2014

Mac & Cheese with Ritz Topping

Recipe adapted from Brown Eyed Baker.
Make three portions.


Ingredients

3 handfuls of macaroni
15 pcs of Ritz biscuits mixed with 3 tbsp of gruyere cheese, grated
50gm butter
2 tbsp plain flour
500 ml milk
50 gm gruyere cheese, grated
1 clove of garlic, minced
A handful of pizza cheese mix (Mozzarella, Parmesan & Cheddar)


Method
  1. Crush Ritz biscuits and mix with gruyere cheese. Set aside.
  2. Boil macaroni until firm to the bite but not fully cooked. Drained and set aside.
  3. Using small fire, melt the butter and fry garlic until fragrant.
  4. Add flour and stir until it forms a paste.
  5. Add milk gradually and stir until sauce thicken and looks like thick creamy soup.
  6. Add gruyere cheese and let it melt into the sauce.
  7. Bring sauce to a simmer and switch off fire.
  8. Add macaroni and mix well.
  9. Dish into ceramic bowl.
  10. Spoon Ritz crumbs over macaroni.
  11. Top with pizza cheese.
  12. Bake in Air Fryer for 5 mins at 180 degrees or until cheese turns golden brown
  13. Serve warm.


Make some parmesan crusted chicken to go with this!


February 28, 2014

Fluffy Cotton Cheesecake

Adapted from Diana's Dessert


This recipe makes a light, fluffy cotton cheesecake. The taste of cheese is light, thus suitable for those who didn't like strong taste of cheese.


Ingredients
250gm Philadelphia cream cheese
200ml Meiji full cream milk
60gm butter
60gm cake flour
20gm cornflour
120gm sugar
6 eggs (60gm each), egg yolks and whites separated
1 tsp vanilla extract


Method
1. Prepare oven
- Place oven tray and rack at the lowest level
- Pour water in the oven tray to prepare for water bath
- Preheat oven at 160 degrees

2. Cheese mixture
- Using small stove fire, heat up milk to hand hot temperature
- Add butter & cream cheese and whisk until smooth

3. Egg yolk mixture
Whisk vanilla extract, egg yolks & 20gm sugar till mixture turns light and fluffy

4. Cake batter
- Combined cheese mixture (2) & egg mixture (3)
- Sift flour and cornflour
- Mix well
- Sieve mixture if you see lumps
- Set aside

5. Meringue
- Beat egg whites till foamy
- Add 100gm sugar
- Beat till firm peaks* (not stiff peaks)

6. Mixing the Cake Batter
- Using 1/3 of the meringue, gently whisk the meringue into batter. Once the batter is loosened, add another 1/3 of meringue. Followed by folding in the last portion of meringue.
- Use a flexible spatula to fold the mixture by scrapping the bottom. Just keep scrapping the batter from the bottom to the top until you no longer see the unmixed batter.

7. Baking
- Line the bottom of a 9 inch baking tin
- Pour the cake batter gradually to release bigger bubbles
- Place the baking tin on the oven rack
- Bake for 1hr 20 mins at 160 degrees until cake top is golden brown.

8. Cooling the cheese cake
- Switch off oven heat
- Leave the cake in oven with door ajar for about 15 mins to cool down.
- Demold and remove parchment paper
- Let it cool completely on the cooling rack
- Serve when cooled or store in fridge.


Notes
  • Firm Peaks - When you turn your whisk upside down, the peaks will hold and the ridges are more distinct, but the tips fold back on themselves. (see pictures & information here)
  • If your cheesecake is rising very quickly in the first 10-15 minutes, the oven temperature is probably too high. Try lowering another 10 degrees.

Video tutorial


January 27, 2014

Bread Loaf using Kenwood BM250

Recipe from Kymm's Kitchen.
Thanks to the generous sharing & tips from Rita Choo, Kymm Lee and Pauline Wong.
I am using Kenwood BM250 bread maker.


I was so tempted by Rita's variety of bread recipes that she had tried baking on her bread maker. Just imagine dumping the ingredients (in sequence!) in your bread maker, press some buttons and forget about it. The next morning, wakes up to an aroma of your freshly baked loaf of bread. Good idea? Not unless you follow the steps carefully as according to tips given by Pauline Wong from Mamabliss.

Here's what I've found at Kymm's Kitchen - a fluffy bread recipe that can be baked into loaf or buns!


Ingredients

180 gm bread flour
120 gm cake flour
20 gm unsalted butter
30 gm sugar
20 gm unsalted butter
210 gm (Full cream milk + 1 egg yolk)
4 gm Saf Instant Dry Baker's yeast
4 gm salt


Method

1. Make sure all your ingredients are at room temperature.

2. Fit the kneading paddle in your bread pan.

3. Add egg yolk, milk and butter into your bread pan.


4. Tip in all your bread flour and cake flour covering the entire wet ingredient surface


5. Add sugar and salt at the opposite corners and yeast in the middle

6. Insert and lock the bread pan into the bread maker.

7. Cover the lid and switch on your bread maker

8. Set your menu at number 1, 750 g and light crust
(The loaf weighs slightly more than 500g so I decided to choose 750g)


9. Press the start button


10. The bread maker will start kneading the ingredients into a dough within minutes. Scrap down the flour from the sides.


11. Close the lid and leave it to complete its full cycle. Please do not open the lid throughout the entire proofing process.


12. The dough doubled in size after first proofing. 


13. After one night of sleep, wake up to the aroma of your very own fresh loaf of bread!
This loaf of bread keeps soft and fluffy for 2 days in an airtight container. You can soften the bread again by steaming it.


January 01, 2014

My first challenge in 2014 - A Dessert Table

HAPPY 2014!!!! My resolution for 2014 is to consume less sugar and here I was preparing a dessert table on the first day of a brand new year! But, it's my nephew's first birthday! I thought it would be fun to prepare a dessert table even though it was my first attempt. There were several challenges like storage space in my fridge, how I should bake and what I could order.

I was looking for cake ideas and chanced upon Irina Tokyo's swiss rolls. They were mini swiss rolls sliced into chunky pieces and assembled with fruits and ribbon. I thought that was a brilliant idea because there's no need to store them in the fridge. And the best part, they looked so cute!

Instead of baking the swiss rolls myself, I decided to order from my local bakery shop and they cost $2.40 per piece. 18 pieces of mini swiss rolls were used to assemble this cake. The cake was tied with ribbons and transported to the event venue before adding the fruits and macaroons. I would strongly advised you to assemble this entire cake at the event venue as the swiss rolls were very tender and easily damaged during transportation. They look perfect when you assemble them and not move them after assembling! The birthday cake should be elevated on the dessert table so that it stands out. White cake stand ($45) from Totts store. Cake topper from Rainbows and Stickers

Customised stickers are useful in presenting the event theme. From Rainbows and Stickers.

Goodies bags were packed with chips, lollipop and candies. The boxes cost $1.50 per piece from The Sweet Favor.

Meringue biscuits make such pretty gifts! They were from Khong Guan and each pack can fill up about 2.5 containers. The container (63 cents each/100ml size) comes with lid that are not tightened so you have to seal them with tapes. Containers and silver tapes from Phoon Huat. Ribbon ($5.90/20 yards) from a gift shop at Great World City, 2nd level.

Made a croquembouche from this choux pastry recipe. The white chocolate compound ($8.90/1kg) was melted before coating with the choux pastries and assembled. They sticked together firmly when cooled and dried. The berries were then added. I only used about 250gm of the white chocolate compound so you should try to get smaller packs. White chocolate compounds from Phoon Huat. Mini bunting ($10.80) from Rainbows and Stickers.

Made peach trifles using this recipe. I replace the fresh fruits with canned peaches. The syrup was drained away before blending the peaches into puree. You can packed 32 cups into a 10 inches cake box. The cups on top layer is slightly higher than the cover but I managed to tape the covers down.

These cute macaroons were ordered from a friend. You have to inform your baker to prepare the shells harder so that they are more suitable for handling and assembling. They could cost $3 to $4 per piece. I used a few pieces on the cake and served the rest in a bowl.

Last but not least, decoratives add a nice touch to your dessert table.

I am so glad for this opportunity to make a dessert table finally! Cheers and have a great 2014!


November 13, 2013

Lemon Yogurt Butter Cake


Makes 9 mini loaf cakes

Ingredients
227gm unsalted butter, cold
227gm self raising flour
227gm castor sugar
100gm greek yogurt
4 eggs (55gm each)
1 tsp vanilla bean paste or vanilla extract
3 tbsp fresh lemon juice
2 tsp grated lemon zest for batter
1 lemon, for garnish (optional)
Some grated lemon zest for garnish (optional)

Method
  1. Preheat oven to 180 degrees
  2. Beat butter with sugar till pale and creamy
  3. Mix eggs with lemon zest and vanilla bean paste
  4. Add egg mixture into butter in 3 additions
  5. Mix well before adding more egg mixture
  6. Using slow speed and changed to stirring whisk, mix flour and yogurt in alternate additions (Do not over mix)
  7. Transfer to two large piping bags
  8. Pipe into mini baking trays until 5mm below rim
  9. Placed at lowest rack
  10. Bake at 180 degrees for 45-50 mins until the top is nicely browned
  11. Do a stick test
  12. Cool on rack
  13. Garnish with lemon slices and rinds
Preparing candied lemon slice for garnish
  1. Slice one lemon thinly
  2. Boil in water for 5mins
  3. Discard water
  4. Use a fresh cup of water to boil lemon and add 1 cup of sugar
  5. Boil for 5-10mins
  6. Drain away water
  7. Lay lemon slices on parchment paper
  8. Baked at 160 degrees for about 15-20 mins until slightly browned
  9. Use for garnish on cake

Notes
  • 4 pieces of 13x7cm disposable aluminium baking tins were used. I bought them from Phoon Huat.

Other attempt

Baked for 35 mins into cupcakes. Used up one whole lemon and 2 tsp of lemon zest.